El bronceador y el contorno son como primos: pueden parecer similares en la olla y trabajar juntos, pero son de dos familias únicas de productos para el cutis que sirven para propósitos ligeramente diferentes. De cara al futuro, tocamos a la maquilladora y a la directora nacional de maquillaje de Lancôme, Jasmine Ferreira, para compartir su opinión sobre las diferencias entre el bronceador y el contorno, y cómo aplicar cada uno.
Bronceador frente a contorno: Comprensión de los aspectos básicos
El bronceador es un producto de maquillaje que generalmente se usa para darle a la piel un brillo cálido y bronceado. A menudo se aplica en áreas de la cara donde el sol golpea naturalmente, como la frente, las mejillas y el puente de la nariz. Los bronceadores vienen en varios formatos, incluidos polvos, cremas y líquidos, y generalmente son de un tono o dos más oscuros que su tono de piel natural.
El contorno, por otro lado, es una técnica que se utiliza para definir y mejorar la estructura facial a través del maquillaje. Implica aplicar un producto de tono frío que es más oscuro que el tono de la piel en áreas como los huecos de las mejillas, la mandíbula y los lados de la nariz. El propósito del contorno es crear sombras que esculpan y definan el rostro, haciendo que ciertas características parezcan más pronunciadas o remodeladas. Los productos Contour también pueden venir en varios formatos, como polvos, cremas y barras.
Diferencias clave entre el bronceador y el contorno
Tanto los productos de bronceado como los de contorno mejoran el rostro, pero crean diferentes efectos y se aplican utilizando diferentes técnicas. Este es un desglose:
Efecto en el rostro
Bronceador: El bronceador generalmente tiene un tono beige, marrón o dorado en acabados mate o brillantes y se utiliza para imitar un bronceado natural. Cuando se aplica correctamente, el bronceador puede hacer que la piel luzca energizada y más radiante.
Contorno: Los productos de contorneado suelen tener un tono frío o neutro con un acabado mate para crear sombras y enfatizar la estructura ósea. El efecto es más bien un aspecto cincelado y refinado, esculpiendo características como la mandíbula, los pómulos y la nariz.
Diferencias en la técnica de aplicación
Bronceador: El bronceador a menudo se aplica con una brocha esponjosa, usando una mano ligera para acumular color gradualmente. El objetivo es lograr una calidez natural, por lo que la mezcla es crucial para evitar líneas difíciles.
Contorno: El contorno se aplica a las áreas en las que desea hundirse o definirse de manera más nítida y requiere una aplicación ligeramente más precisa utilizando un aplicador en ángulo o una barra de contorno y mezclando con un cepillo denso o una esponja de maquillaje. La mezcla es esencial para garantizar que las sombras se vean naturales y no manchadas.
Conceptos erróneos comunes
El contorno es complicado: Si bien el contorno puede parecer una habilidad avanzada de maquillaje, no tiene que ser complicado. Darte tiempo para una colocación perfecta y usar técnicas, como usar un palillo de contorno y mezclar con una esponja de maquillaje, puede ayudarte a lograr resultados efectivos.
Más es mejor: Con el bronceador y el contorno, un toque más ligero a menudo conduce a mejores resultados. Aplique capas delgadas de bronceador y contorno y aumente gradualmente la intensidad. No tiene que hacer demasiado. La aplicación excesiva puede hacer que el rostro se vea lodoso, irregular o demasiado dramático, lo que generalmente no es el objetivo del maquillaje diario.
¿Quién debe usar el bronceador?
El bronceador puede ser utilizado por cualquier persona que desee agregar un poco de calidez y dimensión a su tez. Es especialmente excelente para crear un brillo bronceado o enfatizar un bronceado. El bronceador es adecuado para todos los tonos de piel, y la clave es elegir el tono correcto y aplicarlo con una mano ligera para lograr un efecto de aspecto natural. Ya sea que tenga un tono de piel claro, medio o profundo, Lancôme tiene un bronceador para complementarlo.
¿Debería el bronceador ser más claro u oscuro que usted?
Por lo general, el bronceador debe ser un tono o dos más oscuro que su tono de piel natural. Esto ayuda a crear una calidez y dimensión de aspecto natural para su rostro, que recuerda a un bronceado natural. La clave es elegir un bronceador que mejore su tez sin verse demasiado dramático.
Cómo aplicar el bronceador frente a cómo contornear
El bronceador y el contorno se utilizan para mejorar los rasgos faciales, pero sirven para diferentes propósitos y se aplican en áreas ligeramente diferentes. Tanto el bronceado como el contorneado pueden elevar su apariencia de maquillaje, ya sea que se usen juntos o individualmente. La clave para dominar estas técnicas radica en elegir los productos y herramientas adecuados y, lo que es más importante, en mezclar meticulosamente para crear la apariencia deseada.
cómo aplicar bronceador
A Bronzer le encanta agregar un brillo cálido y bronceado a la tez. Por lo general, se aplica en áreas de la cara donde el sol golpearía naturalmente, como la frente, los pómulos, la nariz y la mandíbula. Para lograr el mejor resultado, seleccione un bronceador, como nuestro bronceador en polvo para transformar la piel Teint Idole Ultra Wear, en 1 o 2 tonos más profundos que su tono de piel natural, que puede ser mate o ligeramente brillante según su preferencia. Jasmine Ferreira, Director Nacional de Maquillaje de Lancôme, le recomienda: “Mezcle para integrar el bronceador a la perfección con su base y rubor para evitar líneas difíciles”. Use un cepillo esponjoso para la aplicación para asegurarse de que el producto se distribuya uniformemente y se mezcle suavemente.
Bronceador en polvo transformador para la piel Teint Idole Ultra Wear
Infundido con vitaminas y con hasta 24 horas de uso
Técnicas de aplicación del bronceador
Técnicas de aplicación de bronceador fáciles de seguir para probar la próxima vez que busque bronceador.

Aplicación de bronceador probado y verdadero: Comience por barrer el bronceador en forma de "3" a lo largo de los lados de la cara, comenzando por las sienes y hacia la línea del cabello, moviéndose debajo de los pómulos y luego por la línea de la mandíbula. También se puede aplicar un polvo ligero en el puente de la nariz, el mentón y la frente para mejorar el efecto bronceado natural.

Aplicación de bronceador para un aspecto levantado: La técnica “L” se trata de crear un aspecto levantado, subir más alto con su colocación para no dejar caer las características. Encuentre los pómulos, coloque el bronceador ligeramente por encima de ellos y mezcle. Puede usar la mano para guiar la colocación del bronceador. Aplane la mano y sobresalga el pulgar para crear una forma de “L”. Coloque la palma de la mano izquierda hacia abajo en el lado derecho de la cara (y viceversa), apoyando el dedo índice cerca del contorno del cuero cabelludo y el pulgar en el pómulo; si se siente un poco incómodo, ¡probablemente lo esté haciendo bien! Cualquier exceso de producto en su cepillo puede aplicarse a lo largo de la línea del cabello y la línea de la mandíbula.

Aplicación de bronceador para calor en toda la prenda: Si aún se siente un poco pálido después de la aplicación de la base, esta técnica puede ayudar a calentar el cutis. La aplicación de bronceado en toda la piel ayudará a profundizar el tono general de la piel con un toque de color. Combine su base con el bronceador en polvo en un tono de 1 a 2 tonos más profundo. Aplicarlo en toda la superficie amplificará y profundizará el tono de la base.
Cómo contornear
Por otro lado, el contorno se centra en definir y esculpir sus rasgos faciales. Esta técnica utiliza un producto mate de 2 a 3 tonos más oscuros que su tono de piel para tallar estratégicamente las sombras donde ocurren naturalmente o donde desea crear una ilusión de profundidad. El tono con el que elija contornear debe elegirse en función del nivel de contraste que le gustaría ver. Aplique el contorno con una brocha densa y en ángulo o una esponja de belleza para lograr precisión. Después de aplicar, mezcle bien (¿mencionamos la mezcla?) con un pincel para maquillaje, una esponja o los dedos. La idea es lograr una definición sutil sin líneas visibles ni contrastes marcados.
Dónde aplicar Contour
Para lograr una apariencia esculpida y definida con contorno, aplique el producto en áreas específicas donde las sombras ocurren naturalmente o donde desea crear una ilusión de profundidad:
Espinas de mejilla: Aplique un tono de contorno a lo largo de los huecos de las mejillas directamente debajo de los pómulos, comenzando desde cerca de las orejas y licuando hacia la boca. Esto amplifica la estructura de los pómulos y le da a su rostro una apariencia más cincelada.
Frente: Contornee alrededor de los bordes de la frente, cerca del contorno del cuero cabelludo. Esto ayuda a crear la ilusión de una caída del contorno del cuero cabelludo y una frente más corta, ideal para esculpir rostros largos u ovalados.
Mordaza: Aplique contorno a lo largo de los lados de la mandíbula y el mentón, licuándolo hacia abajo hacia el cuello. Esto define la línea de la mandíbula, creando un contraste más nítido de cara a cuello para una ilusión adelgazante. También puede aplicar el contorno un poco más hacia adentro desde el perímetro del rostro para suavizar las características afiladas de una forma de rostro cuadrado.
Nariz: El contorno a lo largo de los lados de la nariz puede hacer que parezca más angosto. Un pequeño contorno debajo de la punta de la nariz también puede hacer que la nariz parezca más corta.
Templos: Contornear las sienes crea un efecto de estrechamiento en el rostro, ideal para llevar el ojo hacia el centro del rostro, esculpiendo formas redondas y de rostro de corazón.
Técnicas de aplicación de contorno
Pruebe estas técnicas de aplicación utilizando dos formatos de producto diferentes para contornear.

Contorno con corrector: Después de aplicar la base, seleccione un corrector para contornear, como nuestro corrector Teint Idole Ultra Wear All-Over Full Coverage Concealer, en 2 a 3 tonos más profundos que su base de maquillaje en un matiz frío o neutro. Coloque el tono de contorno donde desee crear la ilusión de profundidad y sombras. Usando el lado plano del aplicador corrector, aplique el producto en un solo estrangulador debajo de los pómulos, por los lados de la nariz, alrededor de la mandíbula y alrededor de la frente/los postes. Debido a que esta fórmula es reconstruible, puede aplicarla en capas hasta que la intensidad del color esté a su gusto. Use la punta de los dedos para mezclar suavemente o tome un cepillo denso y en ángulo para esculpir con precisión los rasgos faciales, licuándolos con pequeños movimientos circulares para un acabado suave.
Corrector de cobertura completa Teint Idole Ultra Wear All Over
Cobertura completa y acabado mate natural
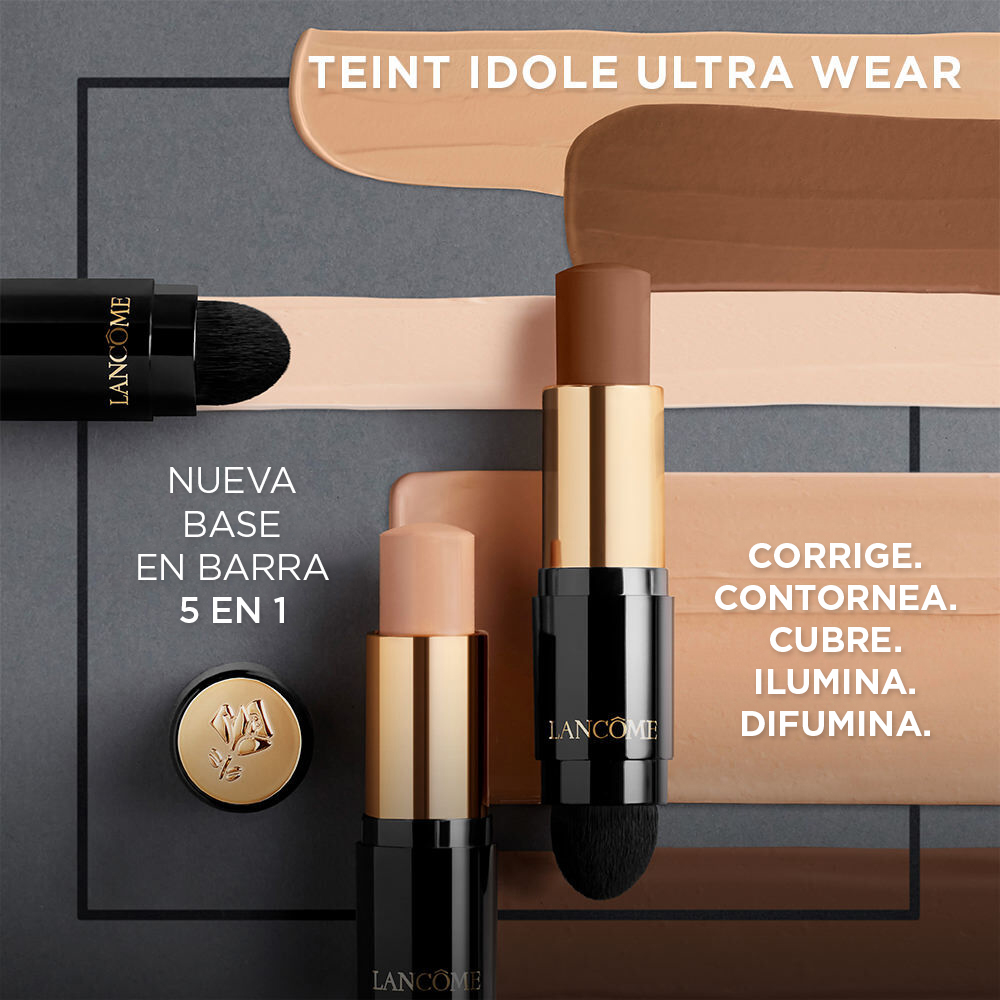
Contorno con barra de base: Hay algunas maneras en las que puede contornear con nuestros palitos de base Teint Idole Ultra Wear en crema a polvo. Primero, elige un tono de 2 a 3 tonos más oscuros que tu tono de piel en un tono fresco o neutro para imitar el aspecto natural de las sombras. A continuación, elija cómo desea presentar la solicitud.
Es posible que le guste probar la técnica de pintura insuficiente, popularizada por la artista de maquillaje de celebridades, Mary Phillips. Con esta técnica de aplicación, aplique la barra de base en su tono de contorno sobre la piel imprimada antes de aplicar la base líquida. Aplique la barra de base en las áreas que desea contornear. Continúe con su base de maquillaje habitual. La técnica de pintado insuficiente ayuda a esculpir sus características mientras minimiza las líneas duras y el producto desperdiciado. Esta técnica es conocida y amada por dejar un acabado difuso y esculpido suave.
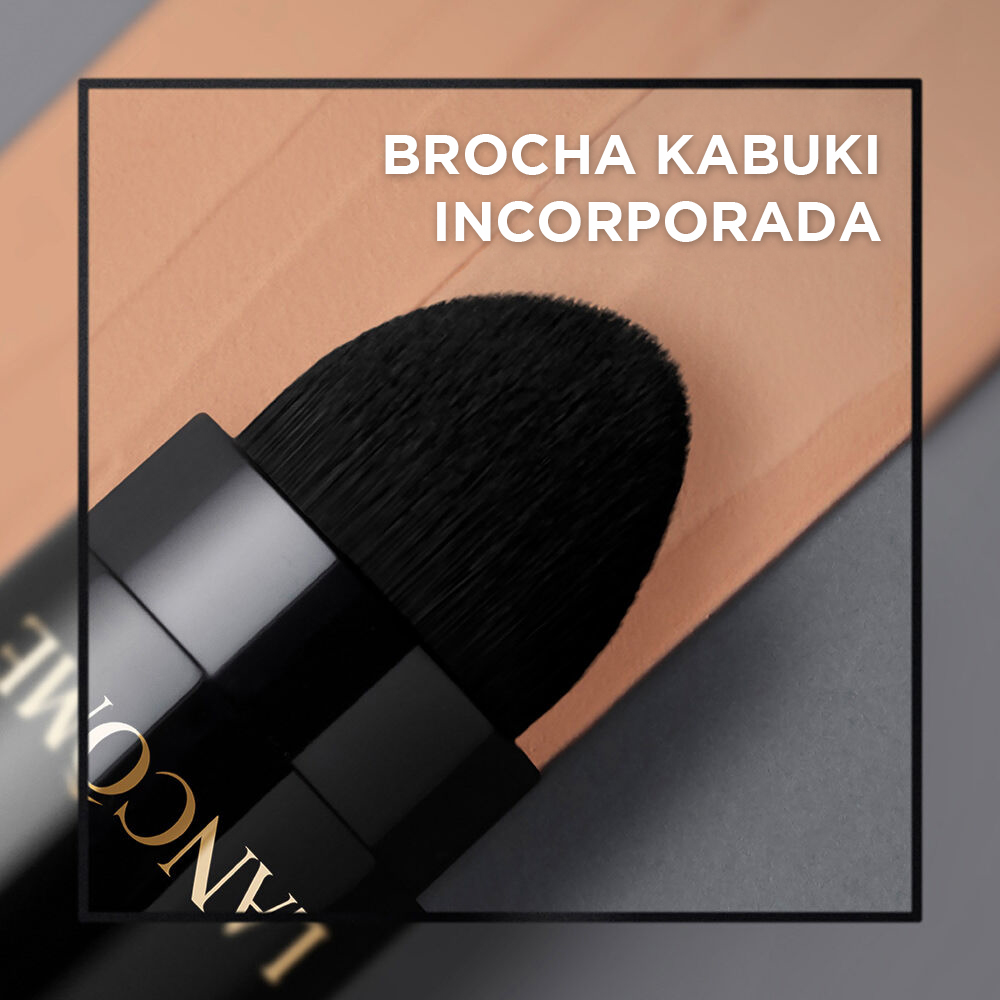
Gracias a la fórmula exclusiva de crema a polvo, también puede aplicar contorno con nuestras barras de base después de aplicar una base de maquillaje: base líquida, en crema o en polvo. Aplique el tono de contorno en las áreas que desea esculpir y mezcle bien con el cepillo kabuki incorporado o un cepillo angular. Al contornear, ¡nunca subestime una buena mezcla! Mezclar bien ayuda a evitar líneas difíciles y el uso de las herramientas y técnicas adecuadas le ayudará a lograr ese efecto de sombra de aspecto natural.
Base en barra Teint Idole Ultra Wear
Cobertura completa de crema a polvo
¿Puede usar el bronceador como contorno?
Puede usar bronceador como contorno, pero para lograr el mejor resultado, considere esto. Los bronceadores generalmente tienen matices cálidos para agregar brillo, que puede parecer poco natural cuando se usan para crear sombras (que son naturalmente más frías en tono). Si elige usar bronceador como contorno, opte por un bronceador que no sea demasiado naranja o brillante.
Cómo elegir entre el bronceador y el contorno
Si deseas agregar calidez, haciendo que tu cutis luzca naturalmente besado y brillante, elige un bronceador. Si busca definir sus rasgos faciales de manera más dramática, el contorno es la forma de hacerlo. Incluso puede usar bronceador y contorno juntos para crear su estilo. Recuerde que estas son pautas generales, no reglas, con las que puede jugar y descubrir qué funciona mejor para su estilo de maquillaje y apariencia.
También puede que le guste
cómo lograr un maquillaje brillante y natural
Cómo aplicar corrector para ojos más brillantes
Cómo encontrar el tono de su base


